How To: Make Sock Snowmen! (5 minute Christmas Craft) ⛄
I love crafting and being artsy but unfortunately, since starting university I've been so busy with trying to stay on top of work that it just hasn't happened and I don't have the time. I did do one little tree banner craft over on my DIY Decor post earlier this month but other than that I've done absolutely zero.

I decided I still wanted to do one last one this Christmas because not only is it fun but it's also therapeutic and a nice break from revision. I wanted to make something easy and simple to follow but also somewhat cute to look at and I decided on these sock snowmen which are one of the easiest things to make ever! Last year I made candles!
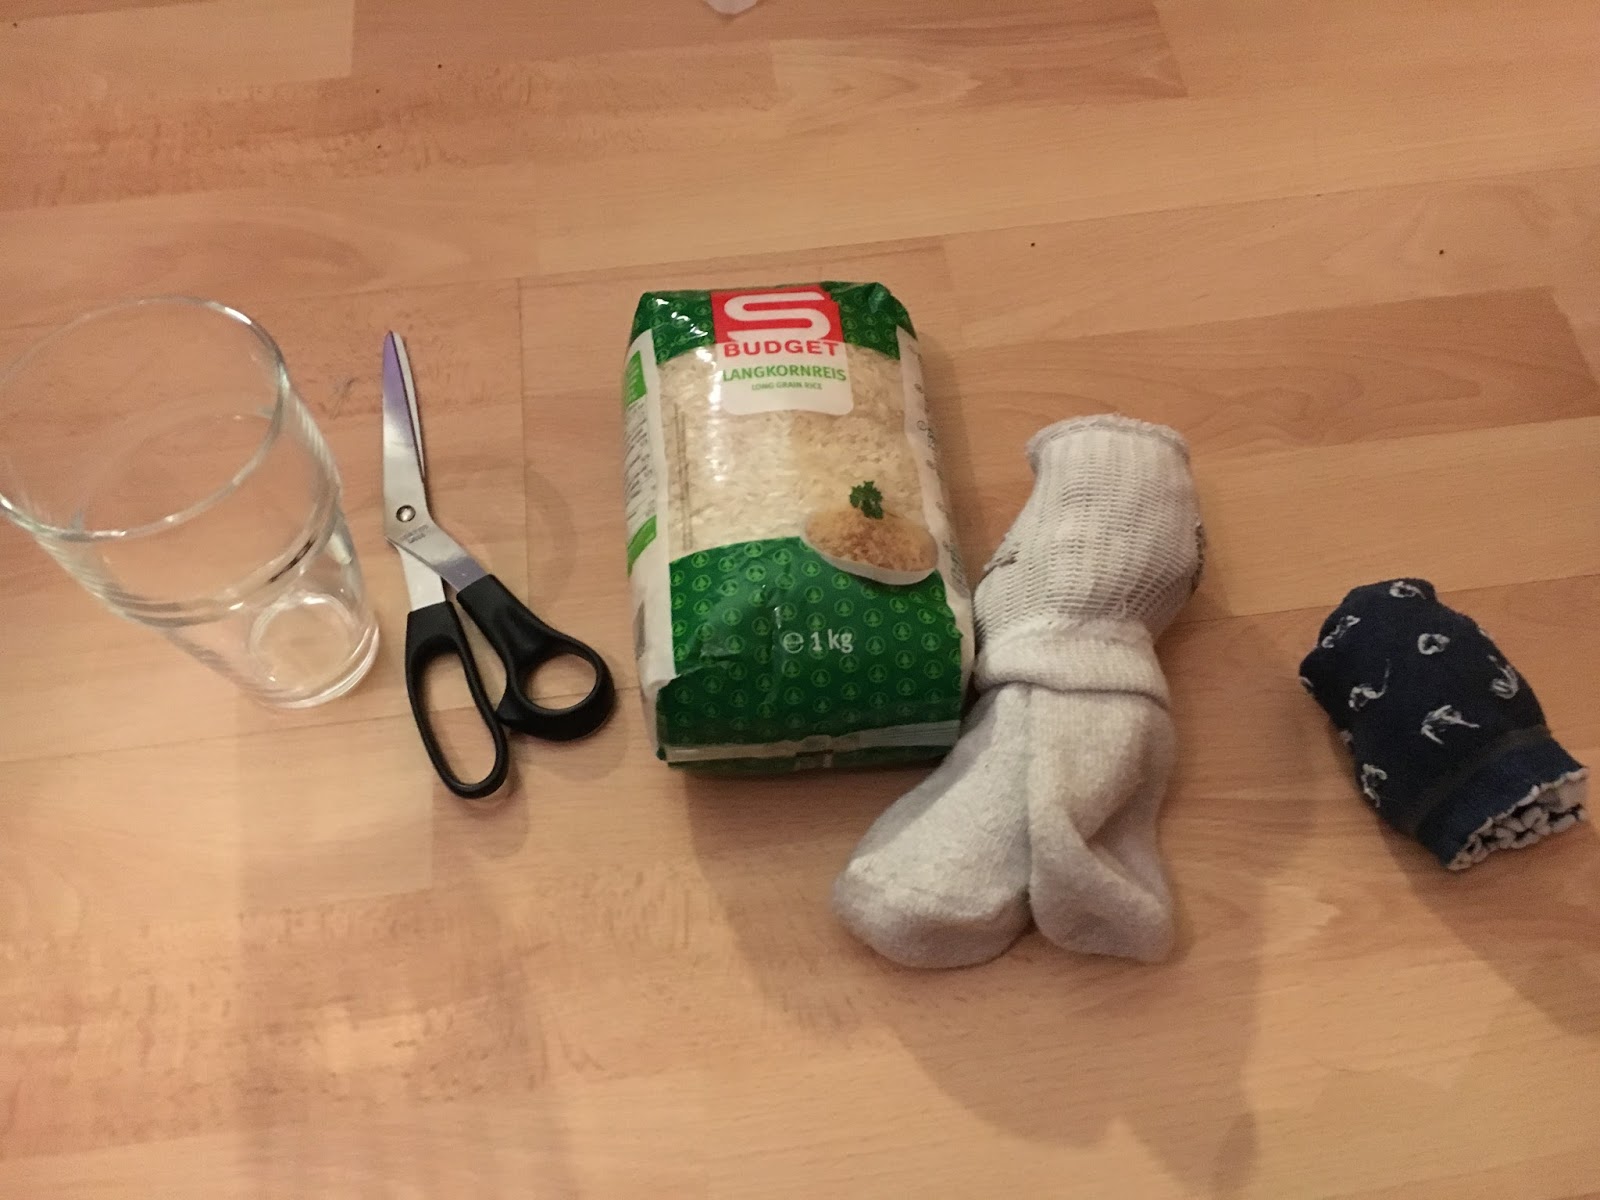
All you will need is one or two socks, rice, 2/3/4 bobbles or elastic bands and a pen. You can then use optional buttons, fabric paint, pom-poms and whatever else you may want. The only equipment you will need is scissors.

Fill one sock up with rice. I found the easiest way to do this was the put the sock in a glass and use a rolled piece of paper as a funnel to direct the flow.
Once you feel you've filled it up as far as you want (as big as you want it), tie it off with one of the bands.

Then decide where you want the snowman's body and head to be separated and tie there off too.
Once you're happy with the shape, cut off the excess material. With the extra, cut off a small band to make a scarf and put it over the neck and then with the rest make a hat. You can tie another band around the top to make the hat's bobble or glue a pom-pom on like me. If you're making multiple, switch the excess materials over so you have a different colour snowman to the accessories.


Finally you can decorate. I chose to keep it super simple and just stick
 on some eyes, a nose, mouth and buttons. You can sew buttons on instead or add stickers or glue and glitter. You can even add arms if you want.


Enjoy your snowman! Let me know if you make any.

I'm also collabing with another blogger on this craft. Go check out Charlotte's blog post on her blog, Arty Allsorts .

I decided I still wanted to do one last one this Christmas because not only is it fun but it's also therapeutic and a nice break from revision. I wanted to make something easy and simple to follow but also somewhat cute to look at and I decided on these sock snowmen which are one of the easiest things to make ever! Last year I made candles!
All you will need is one or two socks, rice, 2/3/4 bobbles or elastic bands and a pen. You can then use optional buttons, fabric paint, pom-poms and whatever else you may want. The only equipment you will need is scissors.
Fill one sock up with rice. I found the easiest way to do this was the put the sock in a glass and use a rolled piece of paper as a funnel to direct the flow.
Once you feel you've filled it up as far as you want (as big as you want it), tie it off with one of the bands.

Then decide where you want the snowman's body and head to be separated and tie there off too.
Once you're happy with the shape, cut off the excess material. With the extra, cut off a small band to make a scarf and put it over the neck and then with the rest make a hat. You can tie another band around the top to make the hat's bobble or glue a pom-pom on like me. If you're making multiple, switch the excess materials over so you have a different colour snowman to the accessories.


Finally you can decorate. I chose to keep it super simple and just stick


Enjoy your snowman! Let me know if you make any.

I'm also collabing with another blogger on this craft. Go check out Charlotte's blog post on her blog, Arty Allsorts .

Comments
Post a Comment